Show 'n' Tell
Let’s Get Punk Rock
This blog post is going to be a bit of a departure from the recent material I’ve delivered lately. There’s still going to be some Engineer nerdiness, when I describe the DIY project that is the subject of this post. First, a little background (background noise perhaps?). Ever since those formative years when your tastes in music start to take form, music is one thing that has been intertwined with just about everything I do. Back in high school I played drums and a little guitar, jamming with my brother and friends making some pretty crappy alternative rock. Bless my parents’ hearts for surviving that! Fast-forward a little bit to later in high school and throughout the college years, when I first listened to and explored electronic music. Almost immediately, I knew there was something here that resonated with me on a much deeper level. Now, some 20 years later, that feeling hasn’t left.
What could be in here?
The Project
About 8 years ago, I began the most recent leg of my journey working with electronic music. It started with some software on the very same laptop I’m using to type this blog post. After a couple years “in the box”, I ventured into the world of DIY synth kits that allow handy folks to save a few bucks by soldering and building the synth at home. From there, I fell into the rabbit hole of chasing the newest, coolest, latest synth which included a couple year stint in the world of modular synthesis. Lucky for you, that’s another story for another day. This story is about making the current iteration of my music-making system more portable, more flexible, more usable. A little while back, I found a company called Temple Audio. They make a line of modular, durable boards that are primarily used for mounting guitar effects pedals. While I do have a handful of effects pedals, that’s not the use I had in mind. I had a vision for mounting the two main synths in my setup to a DUO 17 board, tucking the power adapters and any other unsightly cables underneath the board. Not only does this keep everything nice and tidy, but it cooks everything down to a single power cable to plug in, whenever I pick up and move
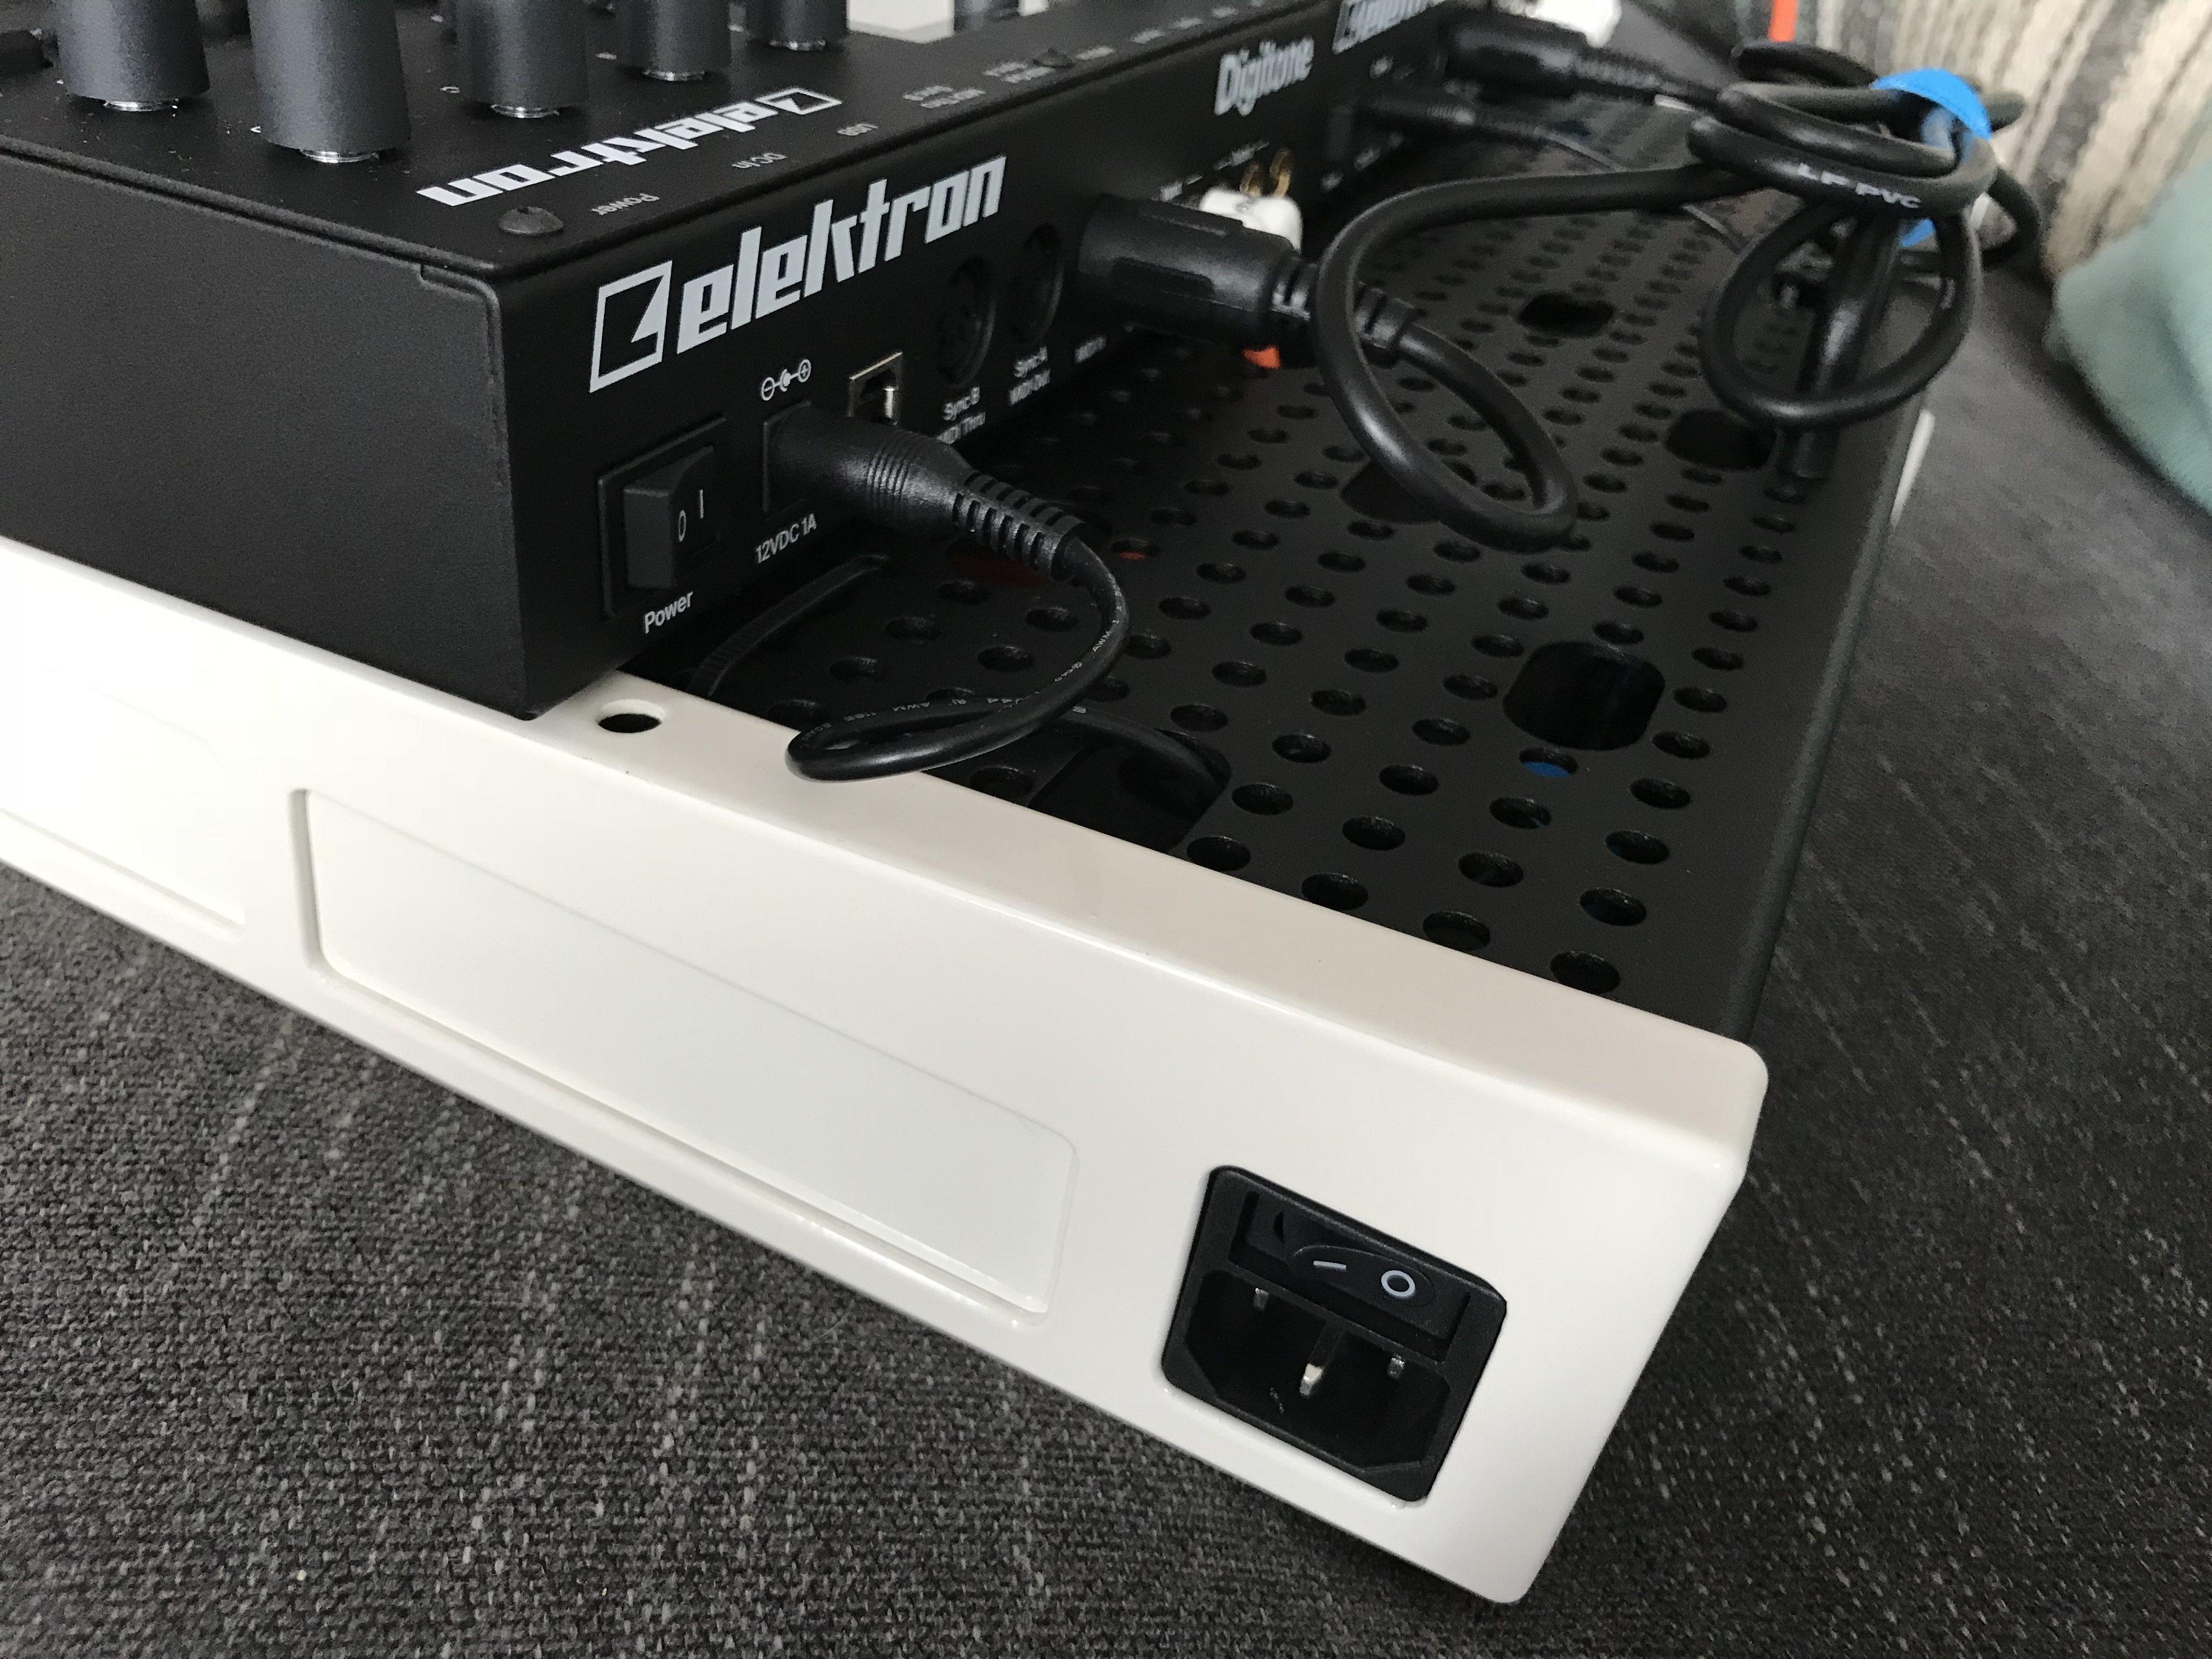
One plug, one power switch, time to jam!
Well, as with most projects, this one took a little bit of doin’ to get it the way I wanted it. That was to be expected, seeing as I wasn’t quite using this product as it was designed. The first hurdle was sorting out how to adapt the power connector under the board and then split it, to have enough outlets for my gear. It’s hard to make out in the photo below, but I found the items I needed at my local Fry’s Electronics super-mega-store.
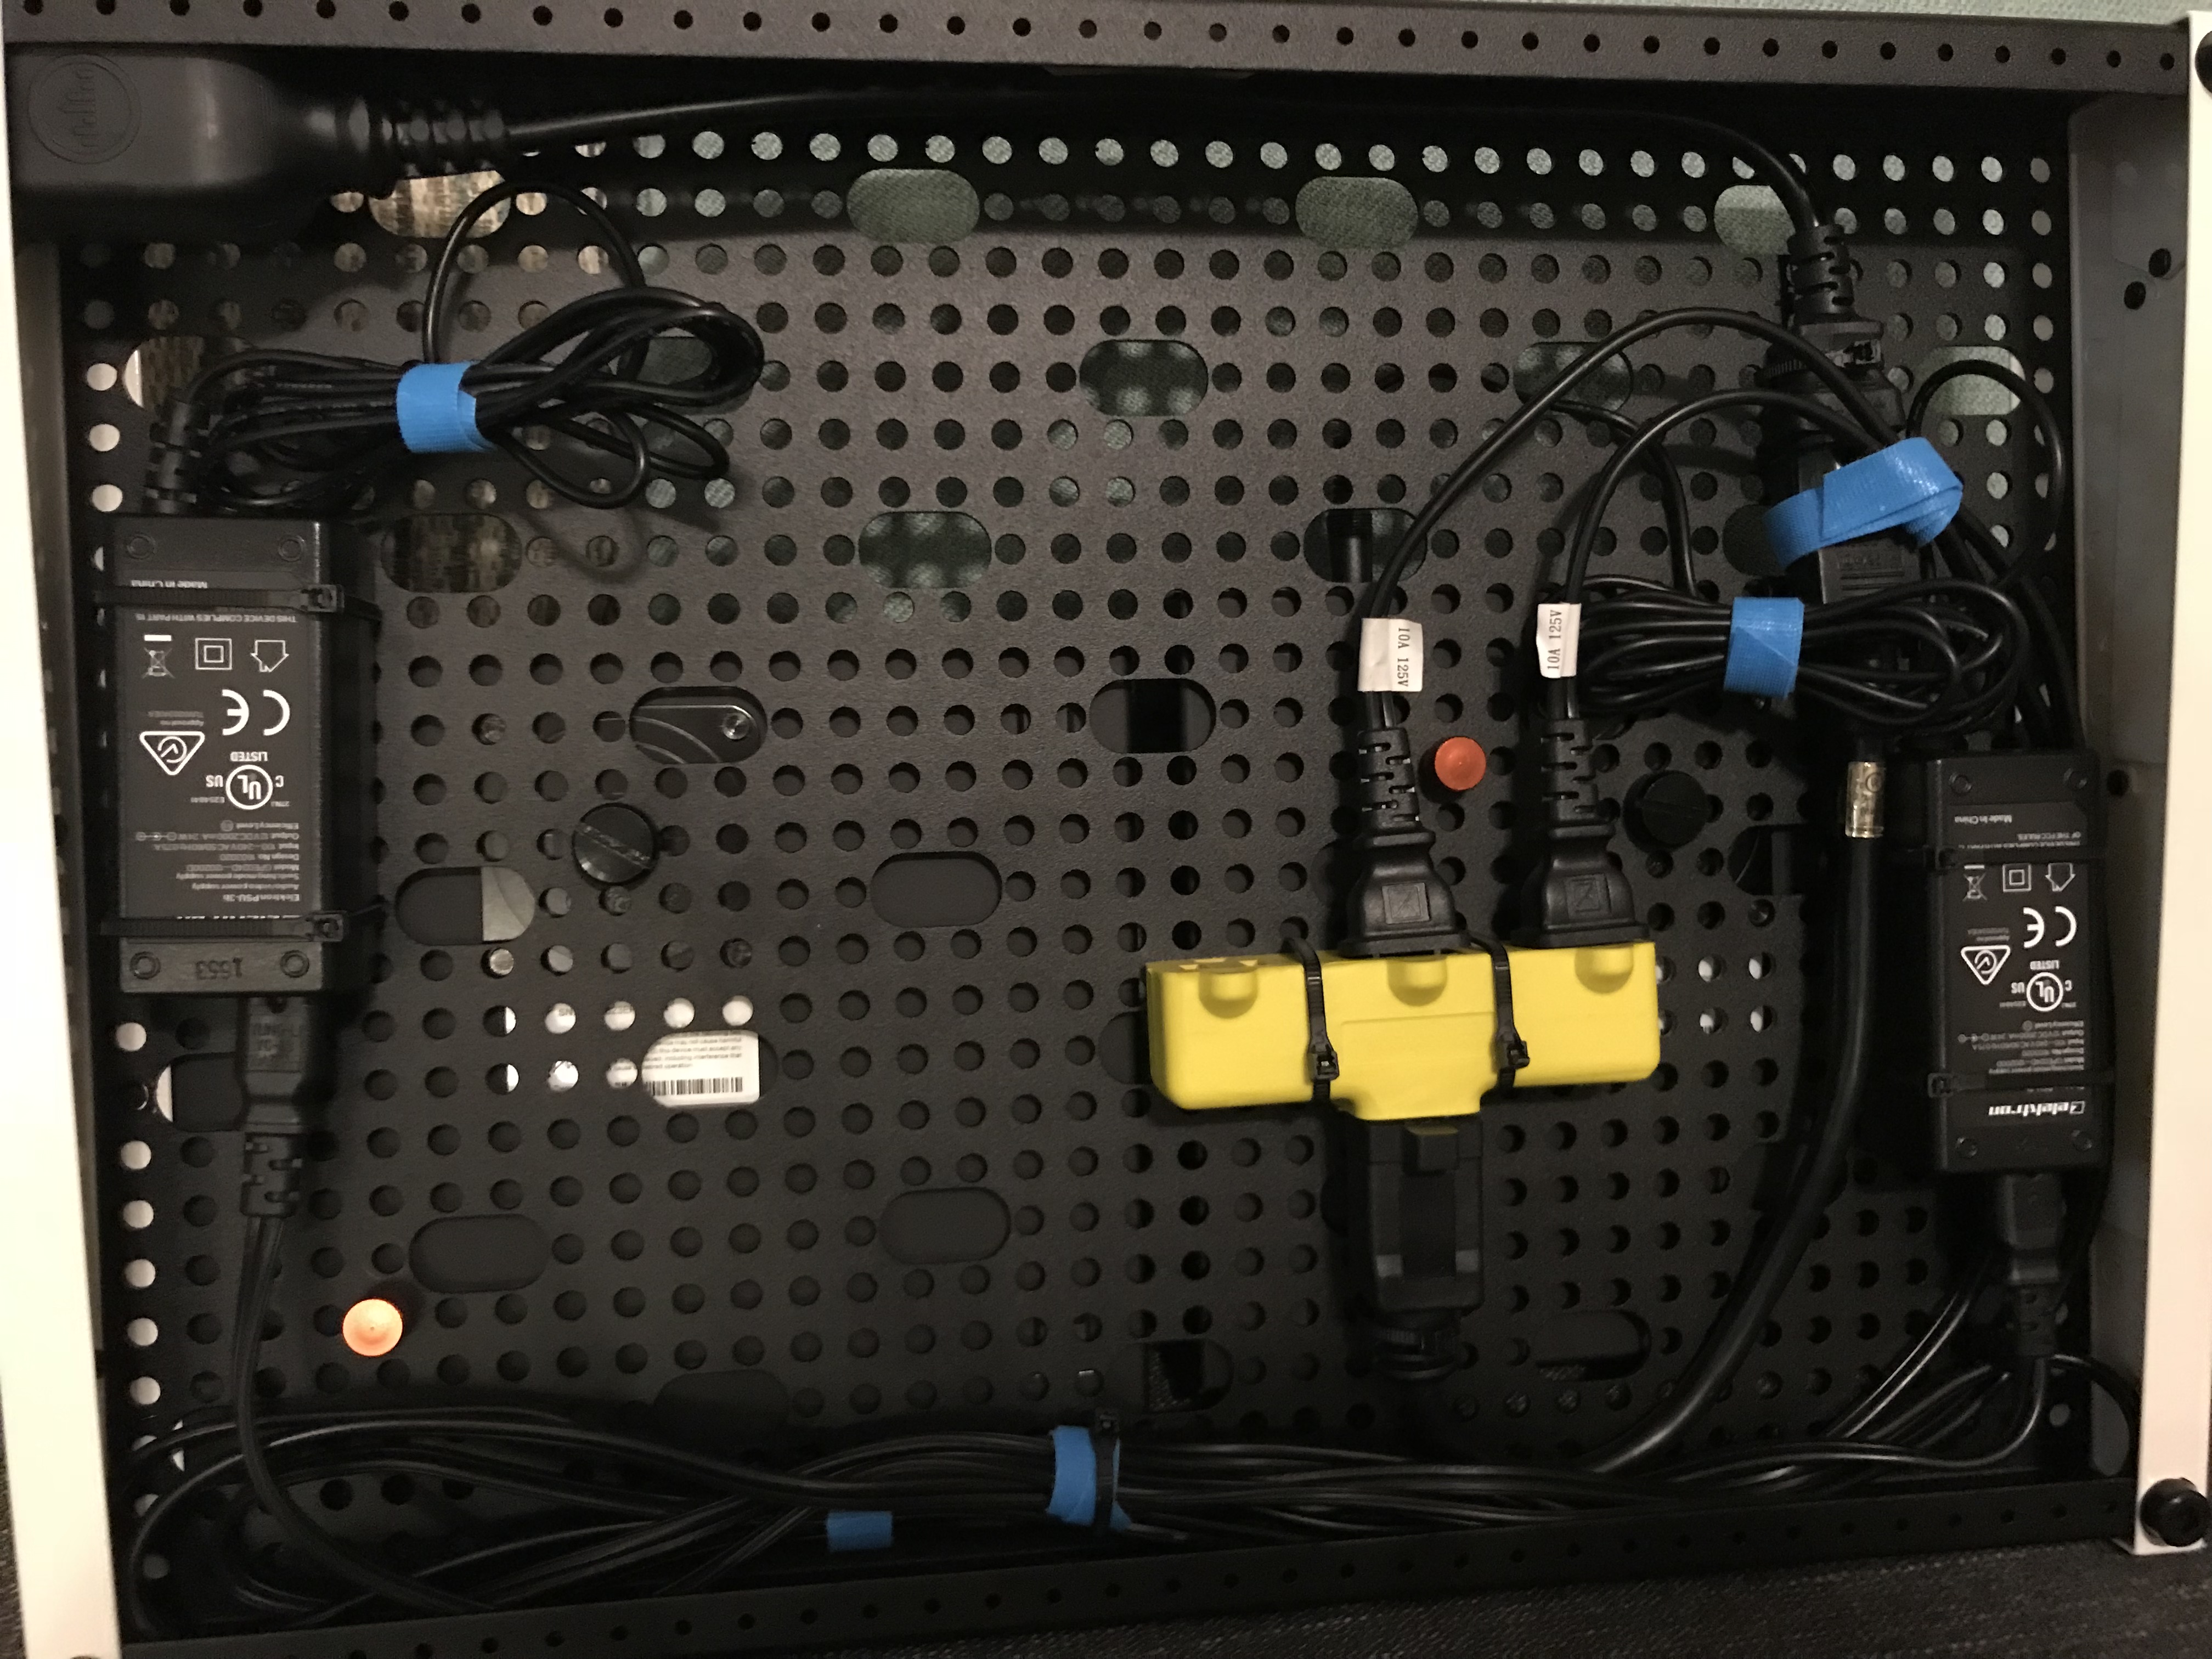
Power cable routing, this space fills up quickly!
The next obstacle was figuring out how to mount my synths to the board. Templeboards use a mounting plate that attaches with adhesive to the back of your device. However, the thumbscrew that they supply is rather short, barely reaching the threads on the plate. I wasn’t comfortable with this being the only mounting connection point, so here’s where I got (even more) creative. Fortunately, the Elektron boxes have standard VESA mounting points on the bottom. After some googling, I found the awesome thumbscrews you see below. I managed to line up one other mounting point, in addition to the adhesive mounting plate and this seems to be a solid enough solution for now. What surprised me, albeit slightly, is that with all the perforations in the board, I wasn’t able to line up more than one VESA mount point. Go figure - I’m thinking about emailing Temple Audio with that suggestion.
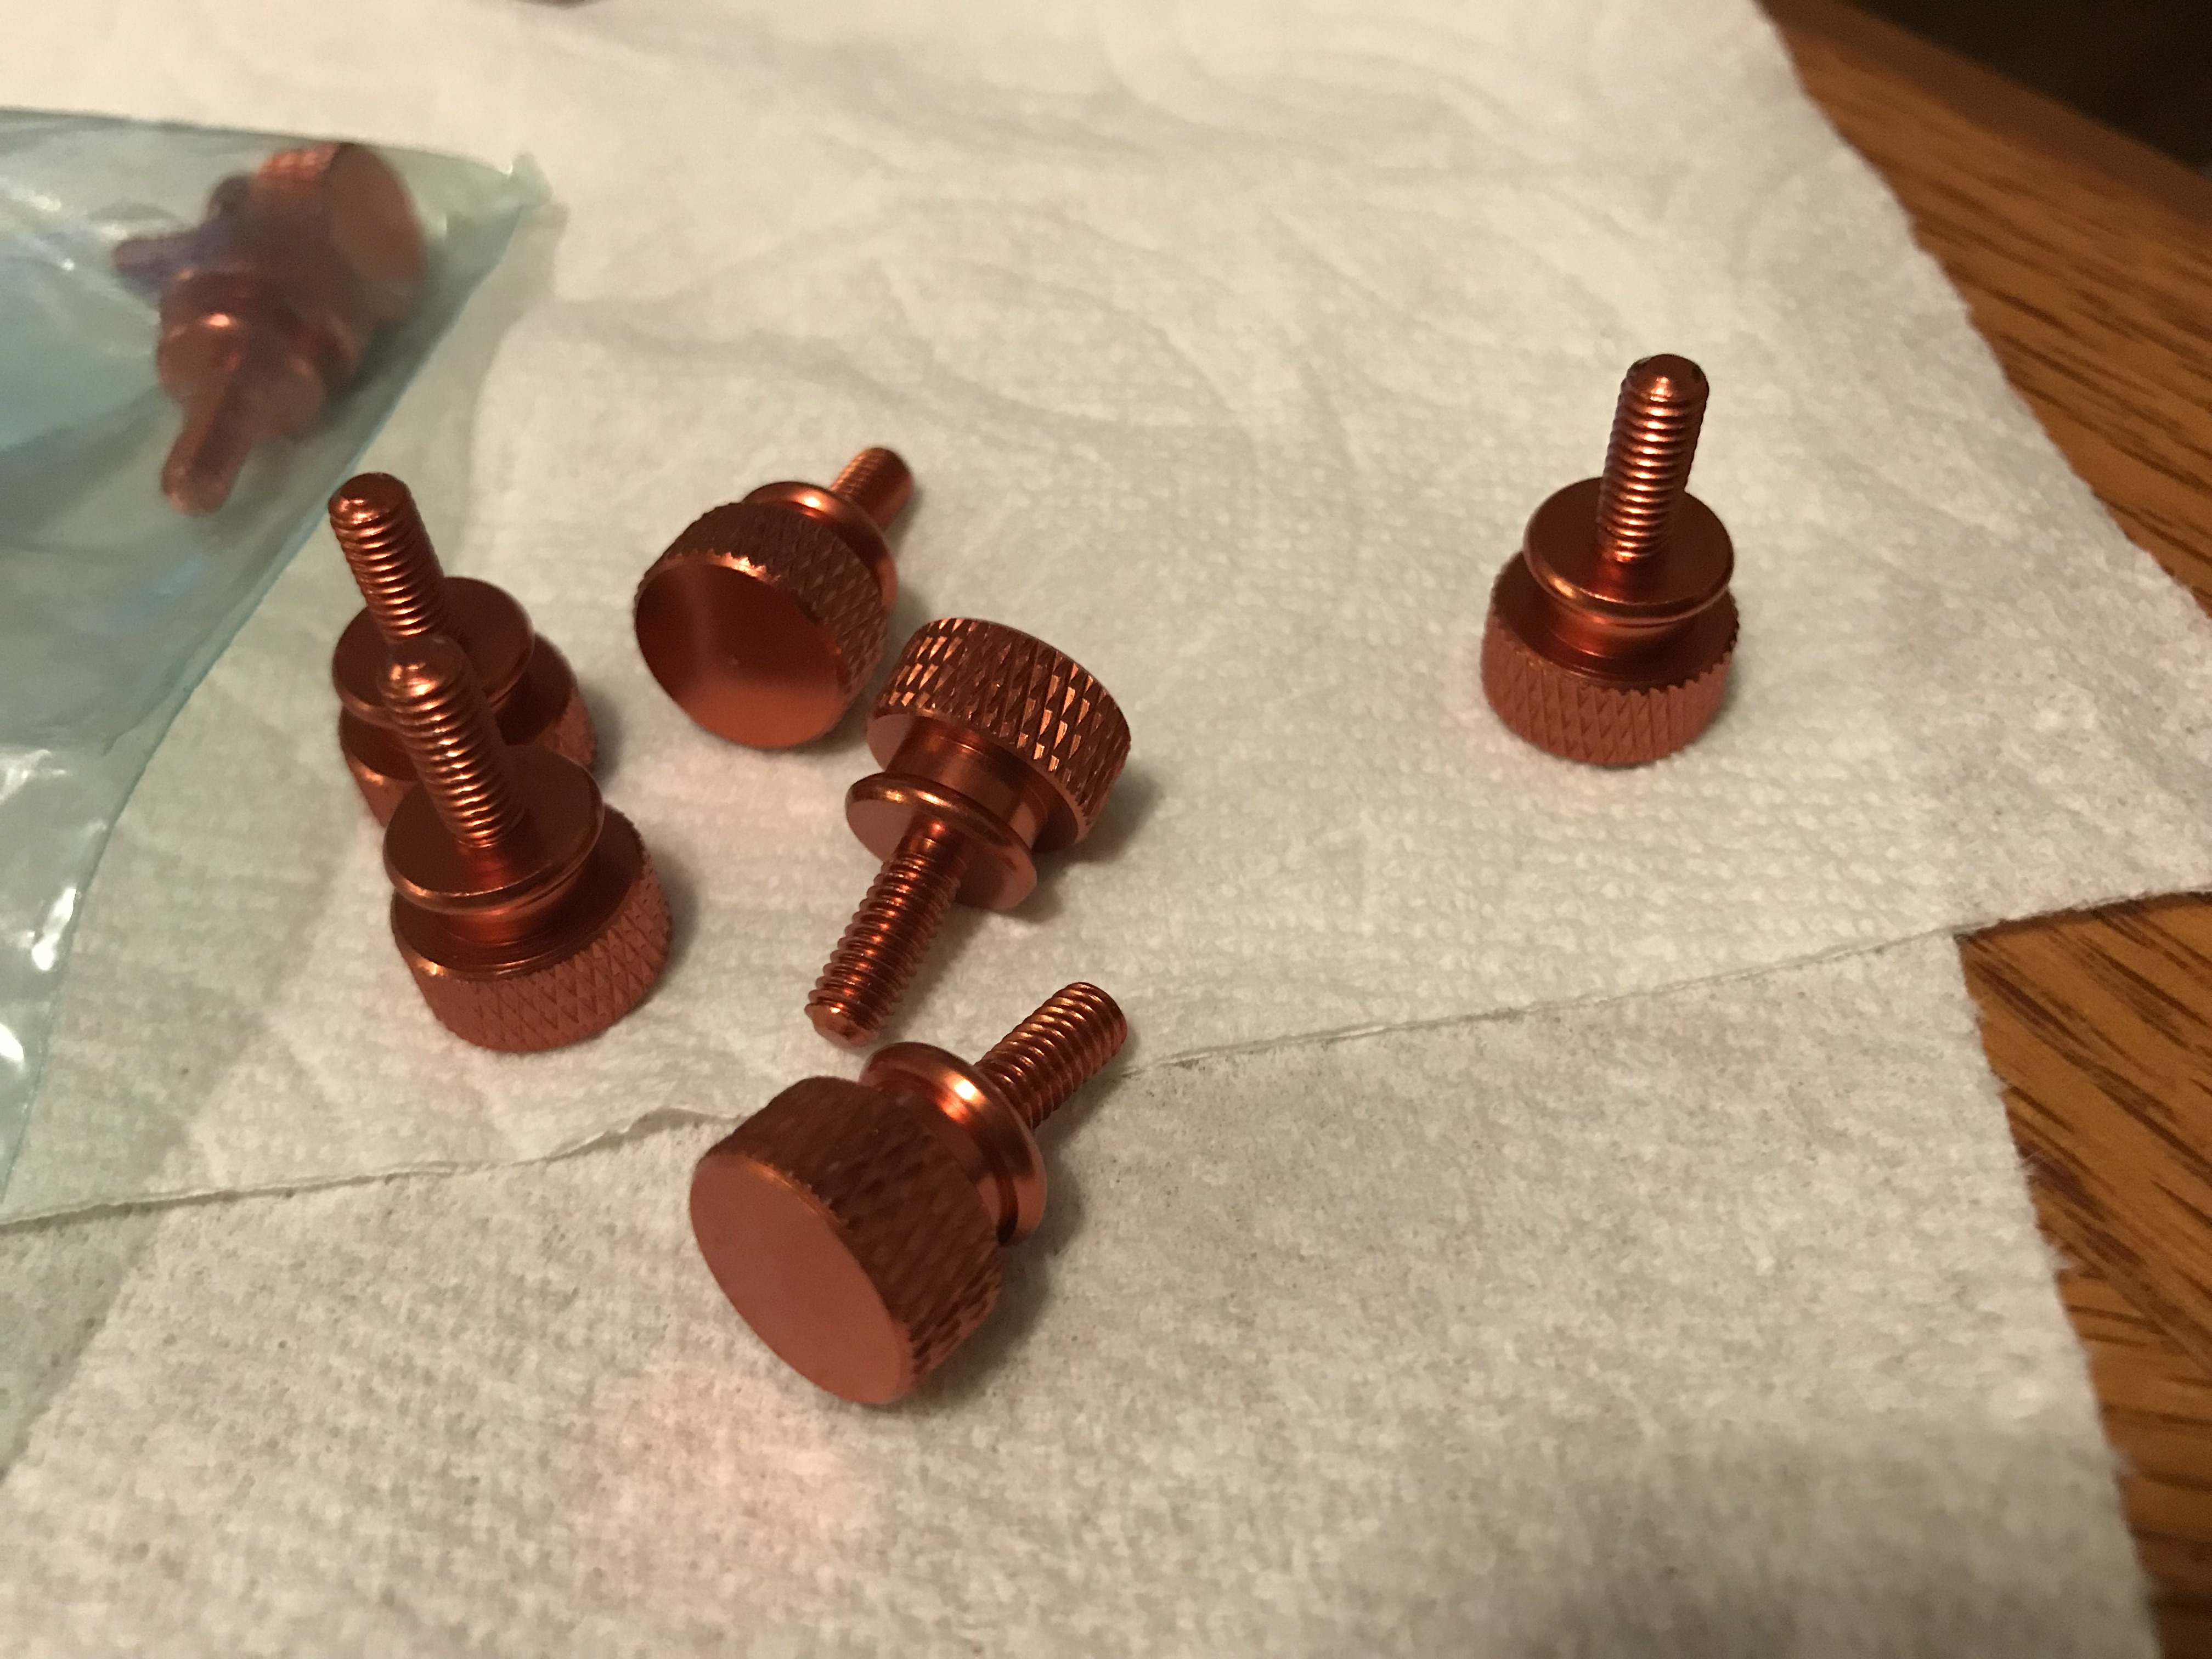
Get a load of these super-nice thumbscrews!
Now that I had the mounting solution, I then set out to line the synths up as best I could. Unfortunately, I didn’t get the board sized right, which meant I had to remove the handles (normally on the front of the white end plates) in order to squeeze my two synths on, next to each other. I re-installed them at the top and bottom of the board, which seems to be work well. It also gave me a place to attach and tuck away the MIDI cable connecting the two synths. In hindsight, a SOLO 18 (18 inches wide) would’ve been the better choice. I may look into that down the road, but I’m happy with how things turned out for now.
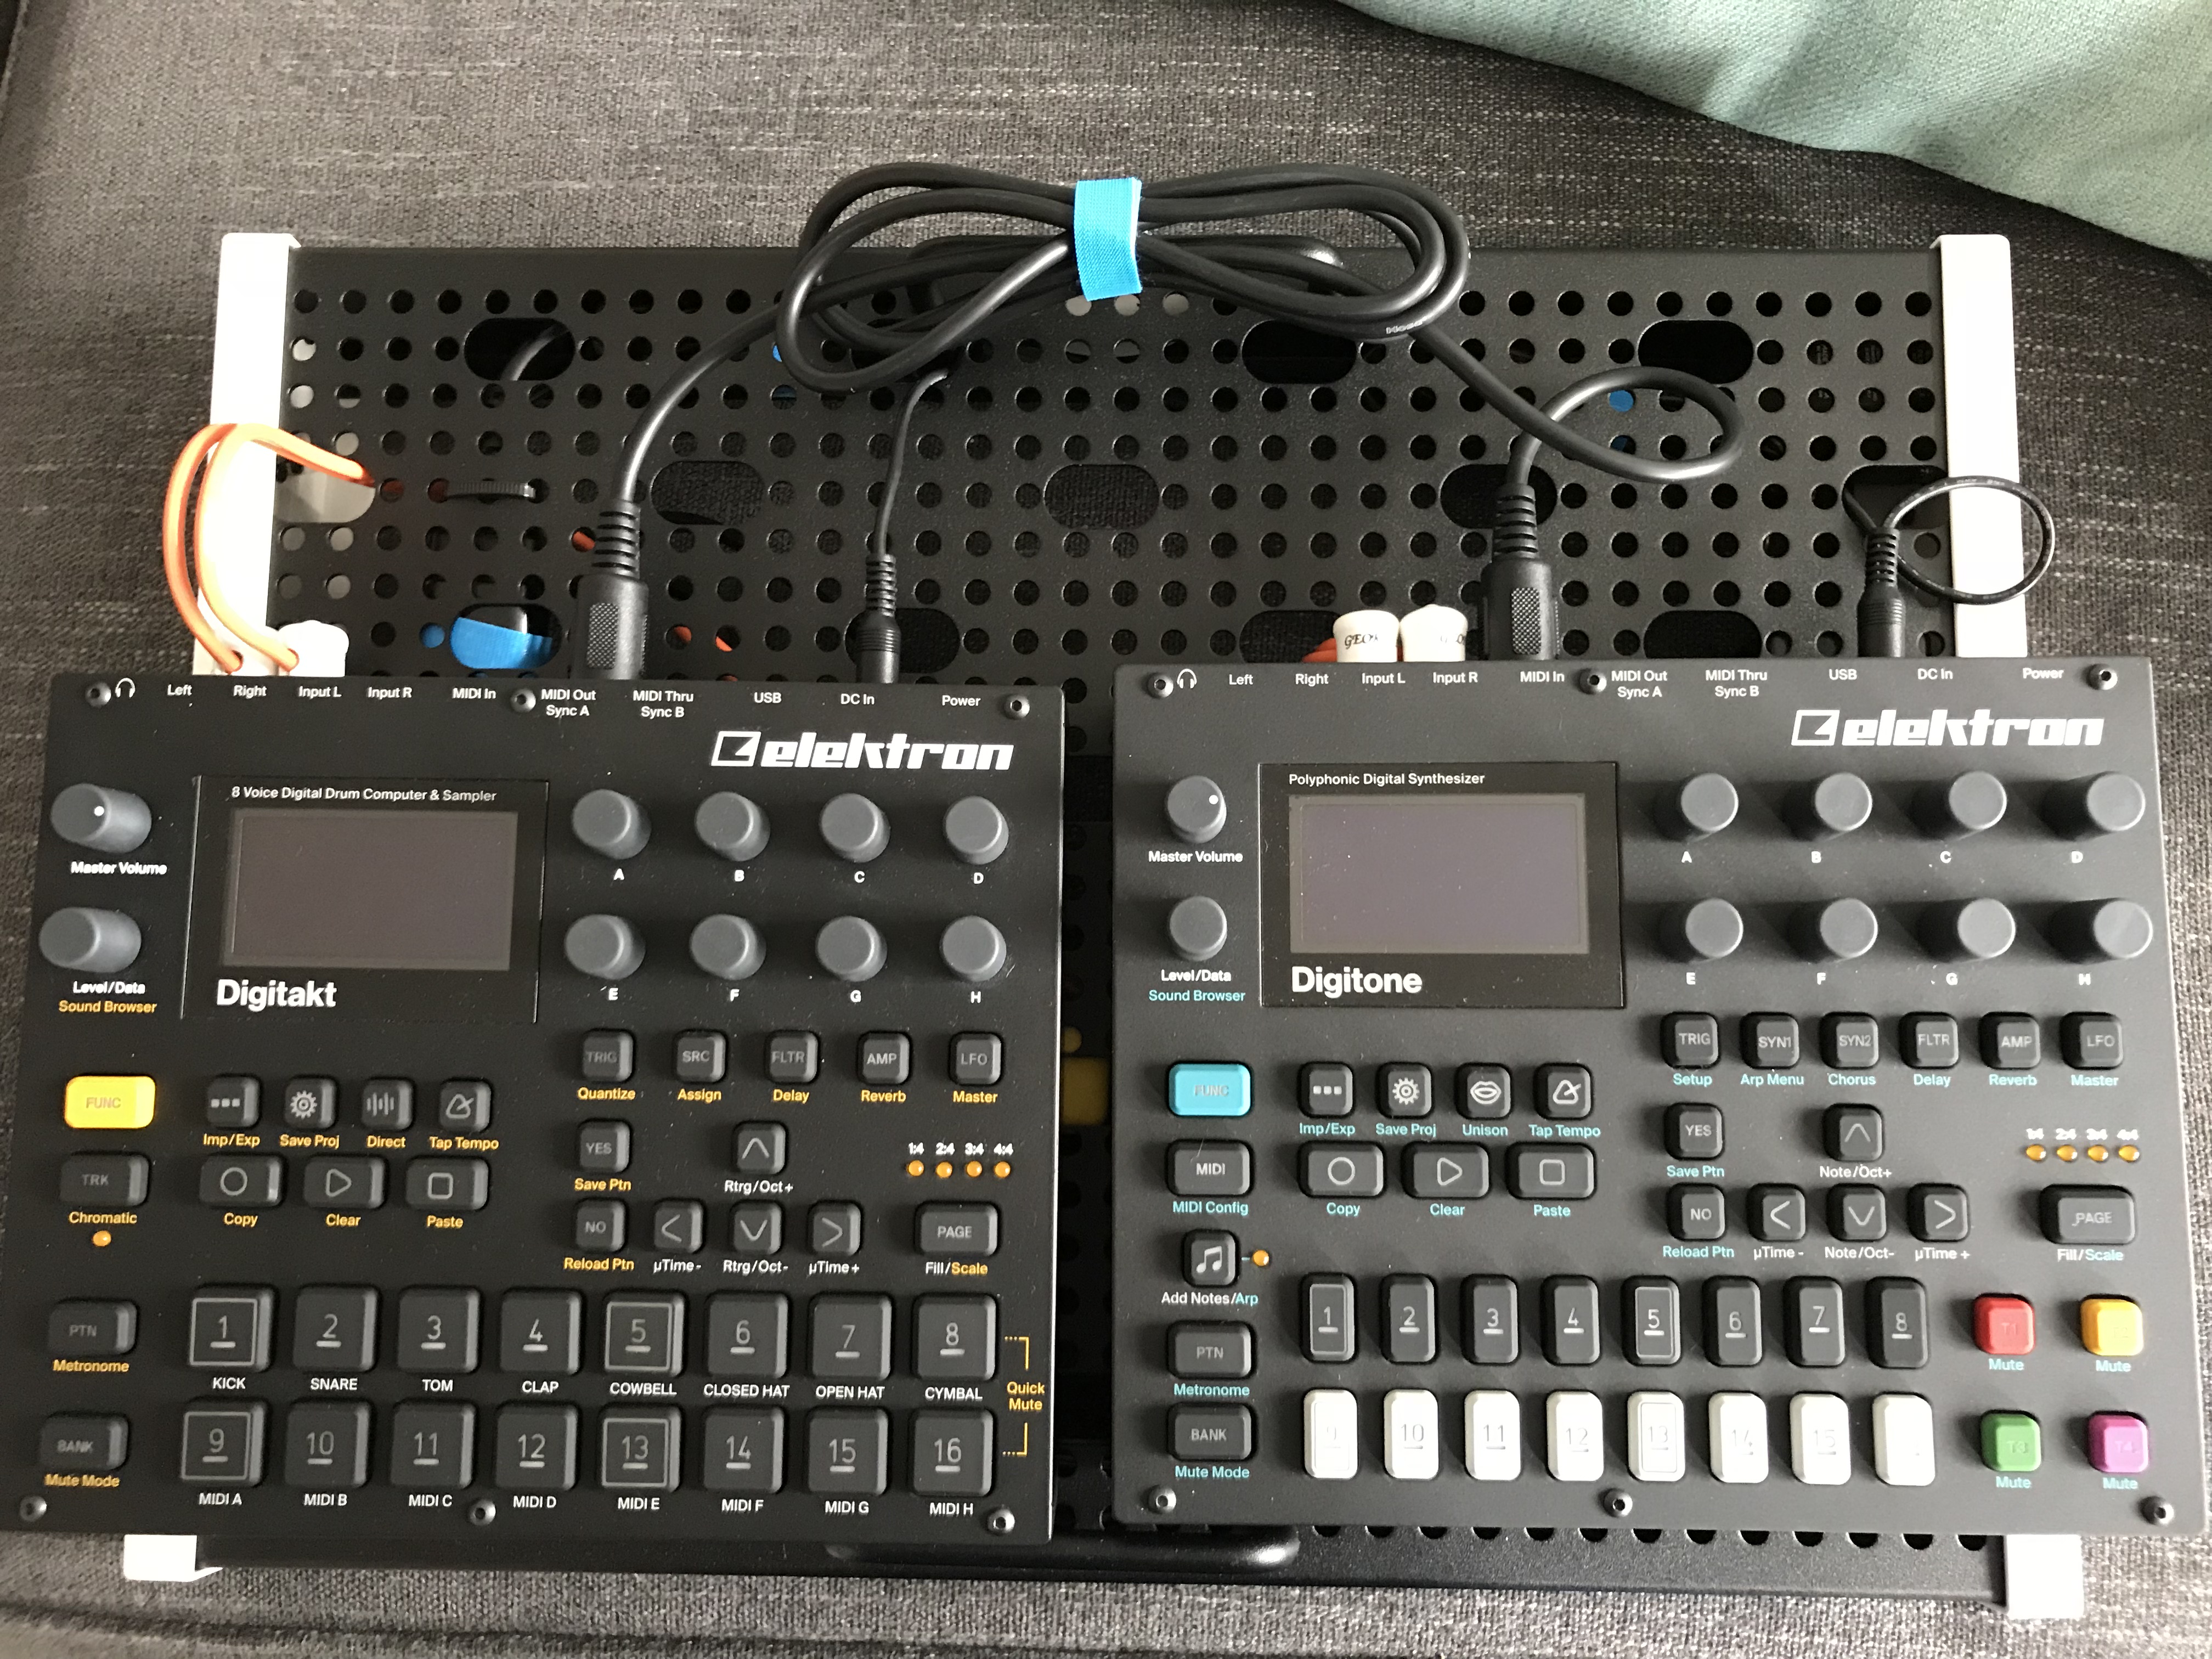
Synths mounted, ready for action.
All in all, it took me a few days of tinkering to get things lined up, mounted securely, and all cables neatly tucked away. At the moment, I have my audio cables crossing paths with power cables, and I’m not sure if that’s a no-no. For now, I can’t say I’m noticing any issues, but I’ll definitely be keeping an eye on that as I get going with this setup.
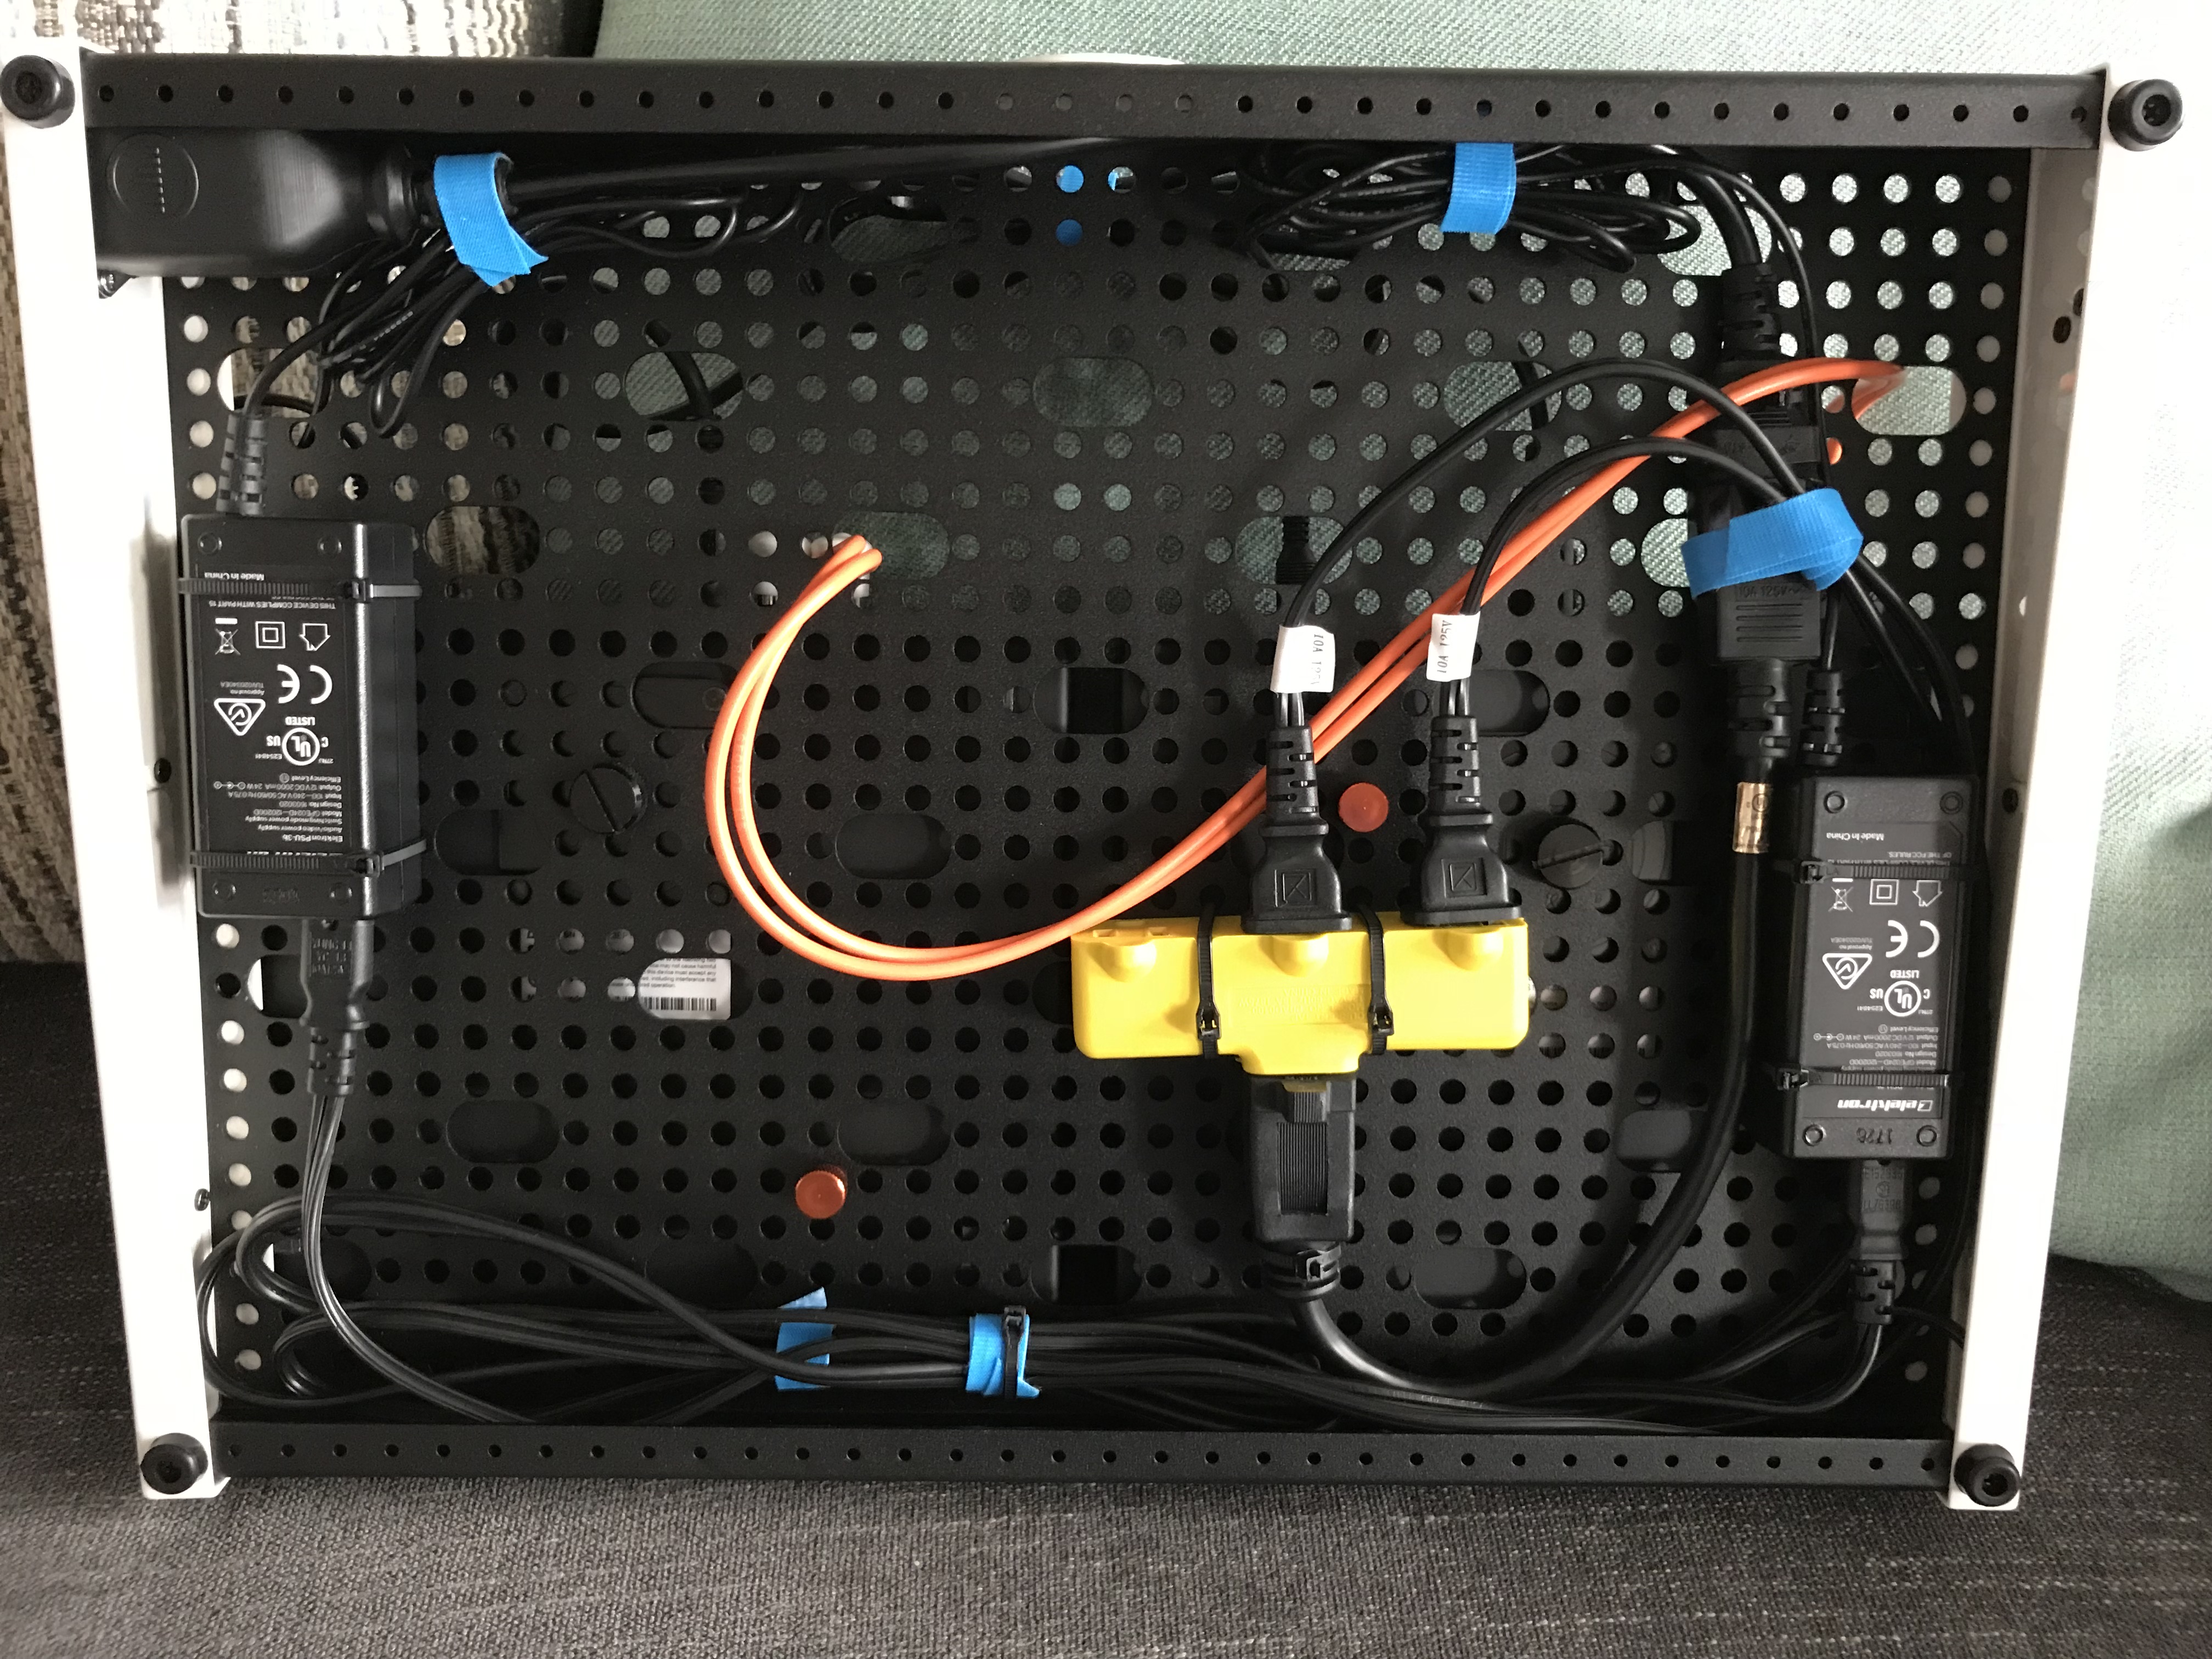
Here’s how all the cables ended up when I finished. Decently tidy.
I had fun scheming, thinking, and ultimately putting this project together. Time is short these days, so anything I can do to streamline the process toward making music is definitely worth checking out. Right about now, I should wrap up this blog post and get back to jamming on my new setup! I’ll leave you with a video of the new setup. Cheers!
Share on Twitter Share on Facebook