Building A GPU Compute Box
Taking the Plunge
I think I’m way past due on updating the blog, so here’s a special post for all two of my readers! As you are likely aware, I’ve been getting into machine learning and data science over the past year. While I primarily use my trusty MacBook Pro for the early investigations, I knew I wanted to tackle some bigger projects and work some deep learning projects soon. The MacBook just doesn’t have the horsepower to handle larger datasets. After reading some good blog posts about GPU computing and how to build your own dedicated machine, I decided to go for it. Since most custom-built computers end up being unique, I thought I’d do a little show-and-tell with my new machine.
Component (&Platform) Selection
There were a few websites that were invaluable for the process of component selection and determining what to prioritize for deep learning.
First up is this blog post which was one of the first articles I came across. Despite referencing older components, it does seem that the author updates this post to keep it current.
After that, I found a couple other posts on Medium that cover the same topic, but also take a look at OS choices, which I found very helpful.
And here’s the second useful post
Once I had an idea of what I wanted to build, I had to figure out how much it was all going to cost, and whether the components I wanted were even compatible with each other. For this, there are two amazing resources out there on the ‘net. Logical Increments will give you an idea of what’s out there, as well as providing example builds in performance tiers from ‘Destitute’ all the way up to ‘Monstrous’! After that, I highly recommend turning to PC Part Picker to find the best deals around. At PC Part Picker, they not only find the best prices, but they also offer advanced & parametric search functions to suit any need.
The Goods
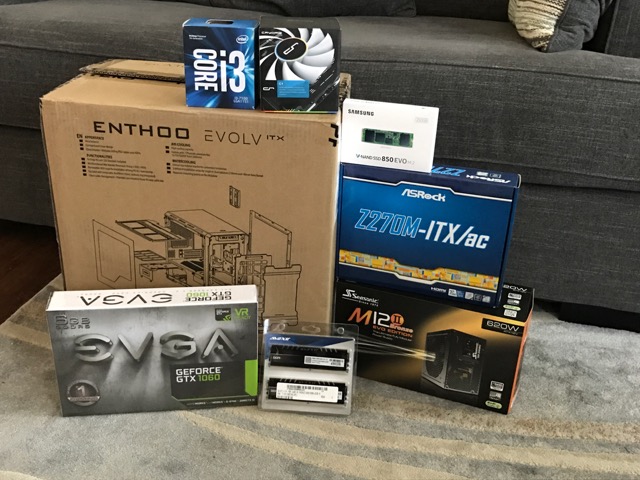
After a few weeks of reading, creating parts lists, iterating, tweaking, and reading some more, I arrived at a parts list that kept the hardware cost under $900, which was my semi-arbitrarily chosen goal. At any rate, on to the parts, along with photos of the build.
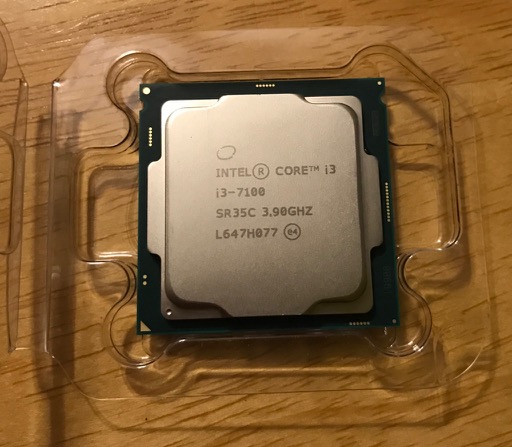
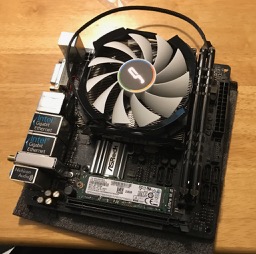
The main brain of any computer is the CPU. Based on the above-mentioned blog posts, CPU selection isn’t as critical as long as you don’t create a bottleneck for the GPU. In short, since you want the GPU to do the heavy lifting in deep learning, you want your big spend there vs. on the CPU. I chose the Core i3-7100, which offers good bang for the buck.
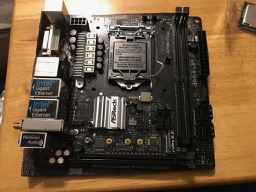
The motherboard goes hand-in-hand (or maybe chip-in-socket?) with the CPU. Case choice also plays a role, as you have to make sure your motherboard fits the case! I was hoping to keep the overall footprint as compact as possible, since space is limited, and I don’t like the look of those behemoth full-size cases. I found a mini-ITX mobo that has onboard wifi as well as the Z270 chipset, giving me room to grow, should I decide to upgrade to an unlocked CPU in the future.
In general, RAM is… RAM. I didn’t put much thought into RAM besides the amount, and felt that 16GB would be a good place to start. I started the build by installing the CPU, which was a little nerve-wracking, but I worked slowly, and eveything went together smoothly.

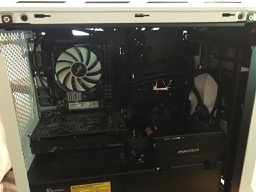
After building up the motherboard, the excitement took over and I forgot to get a picture of the GPU before installing it. It’s nothing really spectacular to look at, but it should offer some great performance for the price. I ended up choosing the GTX 1060 with 6GB of video RAM. This card was about $240 when I got it, but still had a 6.1 compute power rating on NVIDIA’s website. I have no idea what that means, but it was enough for me. This being my first foray into the world of GPU computing, I decided to ease into things, and not break the bank.
Leftovers and Some Performance Results
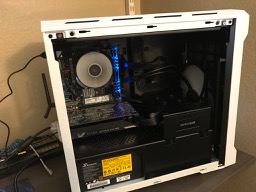
With the hardware assembled, it was time for the moment of truth. I hit the power button and everything worked! Time to install the OS, or in my case, OS’s - that’s right, plural, as I had plans to create a dual-booting system with Windows 10 and Ubuntu 16.04 (Linux). I went this route to have the creature comforts (aka playing a few video games) in Windows to go along with the preferred platform for machine learning and data science - Linux! At first, I used both OS’s fairly evenly, however lately, I find myself using Linux about 95% of the time. Now I’m thinking that I could’ve gotten away with this being a dedicated Linux box.
Of course, now I wanted to know just what kind of reductions in compute time I could expect with this new machine. I had already worked on the MNIST digit recognition project on my MacBook, so that was the easy choice to port over to run on the GPU box. After spending quite a lot of time downloading and configuring CUDA, cuDNN, and setting up my Python environment, I finally got the project to run on the new machine - I was blown away! Each training epoch took about 4 minutes on the MacBook. On the new machine, each epoch only took about 15 seconds. Astounding! This is definitely exciting, and I’m looking forward to really putting this new machine to the test. Overall, I’m glad I took on the daunting task of building my own computer. I’d do it all over again, if I had cash coming out my ears! I’m actually really curious about these new Ryzen CPU’s from AMD, but that’ll have to wait!